




Silver TX-398 One-Sided LED Aluminum Channel for Plaster-In Drywall, Fits LED Strips Up to 20mm Wide, with Milky White Diffuser
Key Features
- One-Sided Upward Lighting Design: The TX-398 features a single upper opening designed to create a clean directional linear lighting effect for integrated wall and ceiling applications.
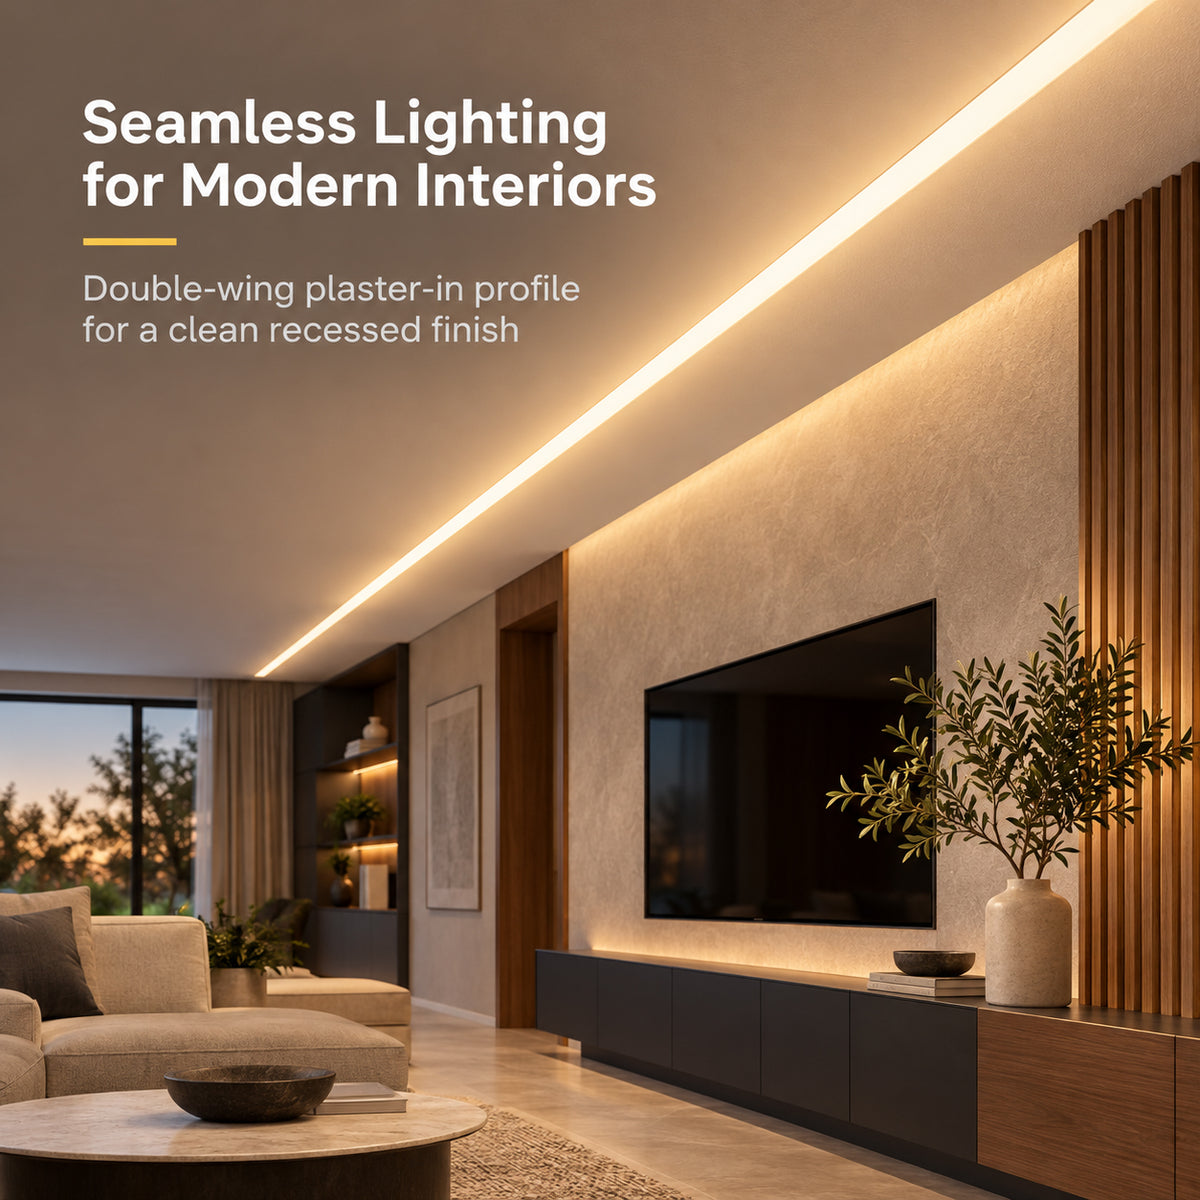
- Plaster-In Drywall Installation: Designed to integrate into drywall or plasterboard so the aluminum profile can blend into the surrounding surface for a clean, built-in architectural appearance.
- Fits LED Strips Up to Approx. 20mm Wide: The wider internal profile accommodates LED strip lights up to approximately 20mm wide, making it suitable for wider LED strips and higher-output linear lighting configurations.
- 20 × 13 × 40mm Profile: The TX-398 combines a wider LED strip area with a compact plaster-in structure for architectural and decorative linear lighting projects.
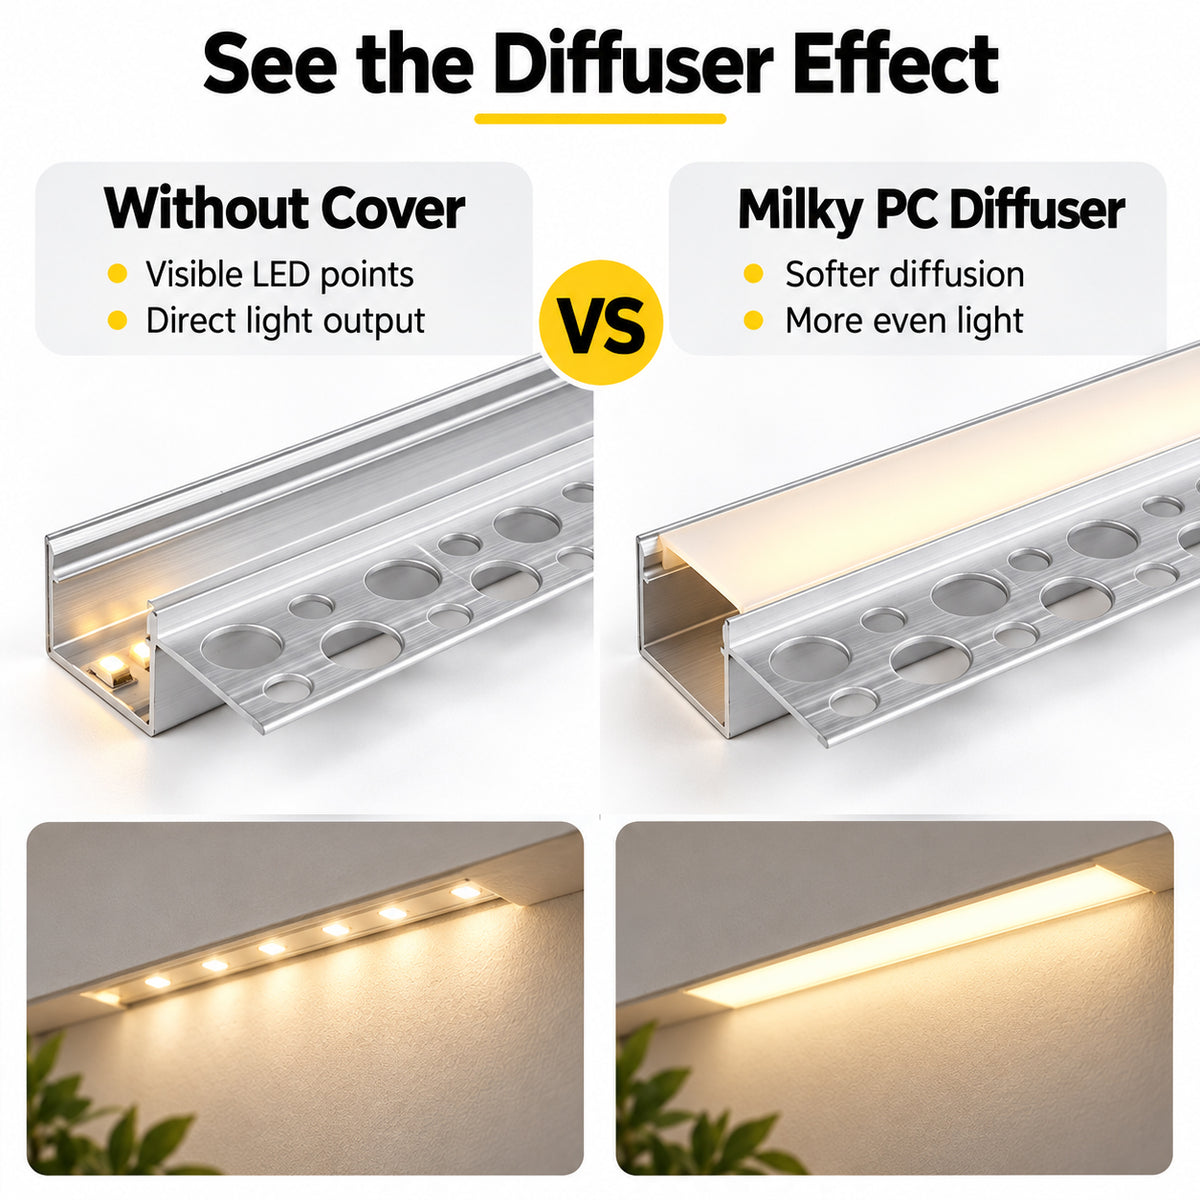
- Milky White PC Diffuser: Each channel includes a matching milky white PC cover to help soften visible LED points and create a cleaner, more uniform finished lighting appearance.
- Silver Aluminum Finish: The silver aluminum profile provides a clean and professional appearance suitable for residential, hospitality, retail, showroom, and commercial interior projects.
- Available in 1M, 2M & 3M Lengths: Multiple length options provide flexibility for short decorative sections as well as longer continuous architectural lighting installations.
- Bulk Pack Options: Available in selected 4-Pack, 6-Pack, 10-Pack, and 50-Pack configurations for individual projects, contractors, commercial installations, and larger lighting applications.
- Channel & Diffuser Only: End caps, mounting clips, screws, and other installation accessories are not included with these variants.
Specifications
- Model: TX-398
- Product Type: One-Sided Upward Plaster-In LED Aluminum Channel
- Color: Silver
- Installation Type: Plaster-In / Drywall Integrated Installation
- Lighting Style: One-Sided Upward Linear Lighting
- Profile Size: Approx. 20 × 13 × 40mm
- Recommended LED Strip Width: Up to approximately 20mm
- Cover: Milky White PC Diffuser
- Available Lengths: 1 Meter / 2 Meters / 3 Meters
- Available Pack Sizes: 4-Pack / 6-Pack / 10-Pack / 50-Pack
- Accessories: Not Included
Compatibility Note: Please check the width of your LED strip before ordering. The TX-398 profile is intended for LED strips up to approximately 20mm wide.
Length & Pack Availability: 1-meter and 2-meter versions are available in 4-Pack, 6-Pack, 10-Pack, and 50-Pack options. The 3-meter version is available only in 10-Pack and 50-Pack configurations.
Accessory Note: End caps, mounting clips, screws, and other installation accessories are not included with the listed TX-398 variants.
Applications
The TX-398 is designed for integrated architectural LED lighting projects where a clean plaster-in finish, wider LED strip compatibility, and one-sided upward lighting effect are required.
- Drywall and plasterboard lighting
- Architectural linear lighting
- Wall-integrated uplighting
- Ceiling and wall transition lighting
- Decorative recessed lighting
- Feature walls
- Hallways and corridors
- Residential interior lighting
- Hotels and hospitality spaces
- Retail and showroom lighting
- Commercial interior projects
- Wide LED strip installations
Package Included
4 × 1M Pack
- 4 × 1-meter TX-398 Silver Aluminum Channels
- 4 × 1-meter Milky White PC Diffusers
- No End Caps, Mounting Clips, Screws, or Other Accessories Included
6 × 1M Pack
- 6 × 1-meter TX-398 Silver Aluminum Channels
- 6 × 1-meter Milky White PC Diffusers
- No End Caps, Mounting Clips, Screws, or Other Accessories Included
10 × 1M Pack
- 10 × 1-meter TX-398 Silver Aluminum Channels
- 10 × 1-meter Milky White PC Diffusers
- No End Caps, Mounting Clips, Screws, or Other Accessories Included
50 × 1M Pack
- 50 × 1-meter TX-398 Silver Aluminum Channels
- 50 × 1-meter Milky White PC Diffusers
- No End Caps, Mounting Clips, Screws, or Other Accessories Included
4 × 2M Pack
- 4 × 2-meter TX-398 Silver Aluminum Channels
- 4 × 2-meter Milky White PC Diffusers
- No End Caps, Mounting Clips, Screws, or Other Accessories Included
6 × 2M Pack
- 6 × 2-meter TX-398 Silver Aluminum Channels
- 6 × 2-meter Milky White PC Diffusers
- No End Caps, Mounting Clips, Screws, or Other Accessories Included
10 × 2M Pack
- 10 × 2-meter TX-398 Silver Aluminum Channels
- 10 × 2-meter Milky White PC Diffusers
- No End Caps, Mounting Clips, Screws, or Other Accessories Included
50 × 2M Pack
- 50 × 2-meter TX-398 Silver Aluminum Channels
- 50 × 2-meter Milky White PC Diffusers
- No End Caps, Mounting Clips, Screws, or Other Accessories Included
10 × 3M Pack
- 10 × 3-meter TX-398 Silver Aluminum Channels
- 10 × 3-meter Milky White PC Diffusers
- No End Caps, Mounting Clips, Screws, or Other Accessories Included
50 × 3M Pack
- 50 × 3-meter TX-398 Silver Aluminum Channels
- 50 × 3-meter Milky White PC Diffusers
- No End Caps, Mounting Clips, Screws, or Other Accessories Included
Package Note: Package quantity and channel length depend on the selected variant. All listed variants include the TX-398 aluminum channel and matching milky white PC diffuser only.
Order & Logistics
Lead Time
Usually ships within 1–3 business days when available from our local warehouses.
Delivery Information
This series follows our applicable free-shipping policy for qualifying orders over $399.
- Local Warehouse Delivery: When local inventory is available, delivery is typically approximately 3–7 days.
- Headquarters Warehouse – Standard Delivery: If local inventory is unavailable, standard delivery from our headquarters warehouse is typically approximately 9–18 days.
- Headquarters Warehouse – Express Delivery: Express delivery from our headquarters warehouse is typically approximately 5–9 days.
Long-Length Shipping Note: Shipping arrangements for 2-meter and especially 3-meter aluminum channels may vary because of the oversized package length. Final shipping method may depend on destination and order quantity.
Delivery times are estimates and may vary depending on inventory availability, destination, carrier service, customs processing, oversized-package handling, and other logistics conditions.
Installation
1. Measure and Plan
Confirm the required installation length, profile position, LED strip width, wiring route, and drywall opening before beginning installation.
2. Confirm LED Strip Compatibility
Check that the LED strip is no wider than approximately 20mm before installing it inside the TX-398 channel.
3. Prepare the Drywall or Plasterboard
Prepare the installation area according to the TX-398 profile dimensions and the planned lighting position.
4. Confirm the Lighting Direction
Check the orientation of the single upper opening before fixing the profile so the finished light direction matches the intended architectural design.
5. Position the Aluminum Channel
Install the TX-398 profile into the prepared drywall or plasterboard structure and make sure the channel is straight, correctly oriented, and securely positioned.
6. Finish the Plaster-In Area
Complete the surrounding plaster or drywall finish so the aluminum profile integrates cleanly with the wall or ceiling surface.
7. Install the LED Strip
Clean the internal mounting surface before applying the LED strip. Position the strip evenly inside the channel and make sure it is securely attached.
8. Route the Wiring
Plan the cable route before completing the installation and maintain sufficient access for the LED strip wiring and power connection.
9. Install the PC Diffuser
Fit the supplied milky white PC diffuser onto the aluminum channel after the LED strip and wiring are correctly positioned.
10. Test the Lighting Effect
Test the LED strip before completing the final finish to confirm correct operation, lighting direction, and overall light distribution.
11. Complete the Final Finish
After testing, complete any remaining plaster, sanding, painting, or surrounding surface finishing required for the installation.
Installation Note: Installation accessories are not included with this listing. The exact installation method may vary depending on wall or ceiling construction, LED strip type, wiring layout, and project requirements.

New LED Aluminum Channels
Fresh Designs. Seamless Lighting.
Meet our latest LED aluminum channel additions, designed to bring a clean, modern finish to your lighting projects.
DISCOVER NOW